

When I started to crochet as an adult (I learned when I was 10 and quickly forgot until college), I learned how to make amigurumi first. The little cupcake on the bottom left was the 2nd creation I ever crocheted, and I still have him and love him to this day. The pattern was one of the first posts I ever made on this blog, nearly a decade ago, but it has since disappeared from the net.
Looking back, I realize now that I didn't do some of the techniques right, but it still came out so nice that I made more and sold them on my etsy shop in the early years, and even figured out how to make a giant one for fun. I hope some of you will try this pattern if you've never tried amigurumi before, because it got me hooked (Ba-dum-bum-tsch!), and I hope it will work the same for you!
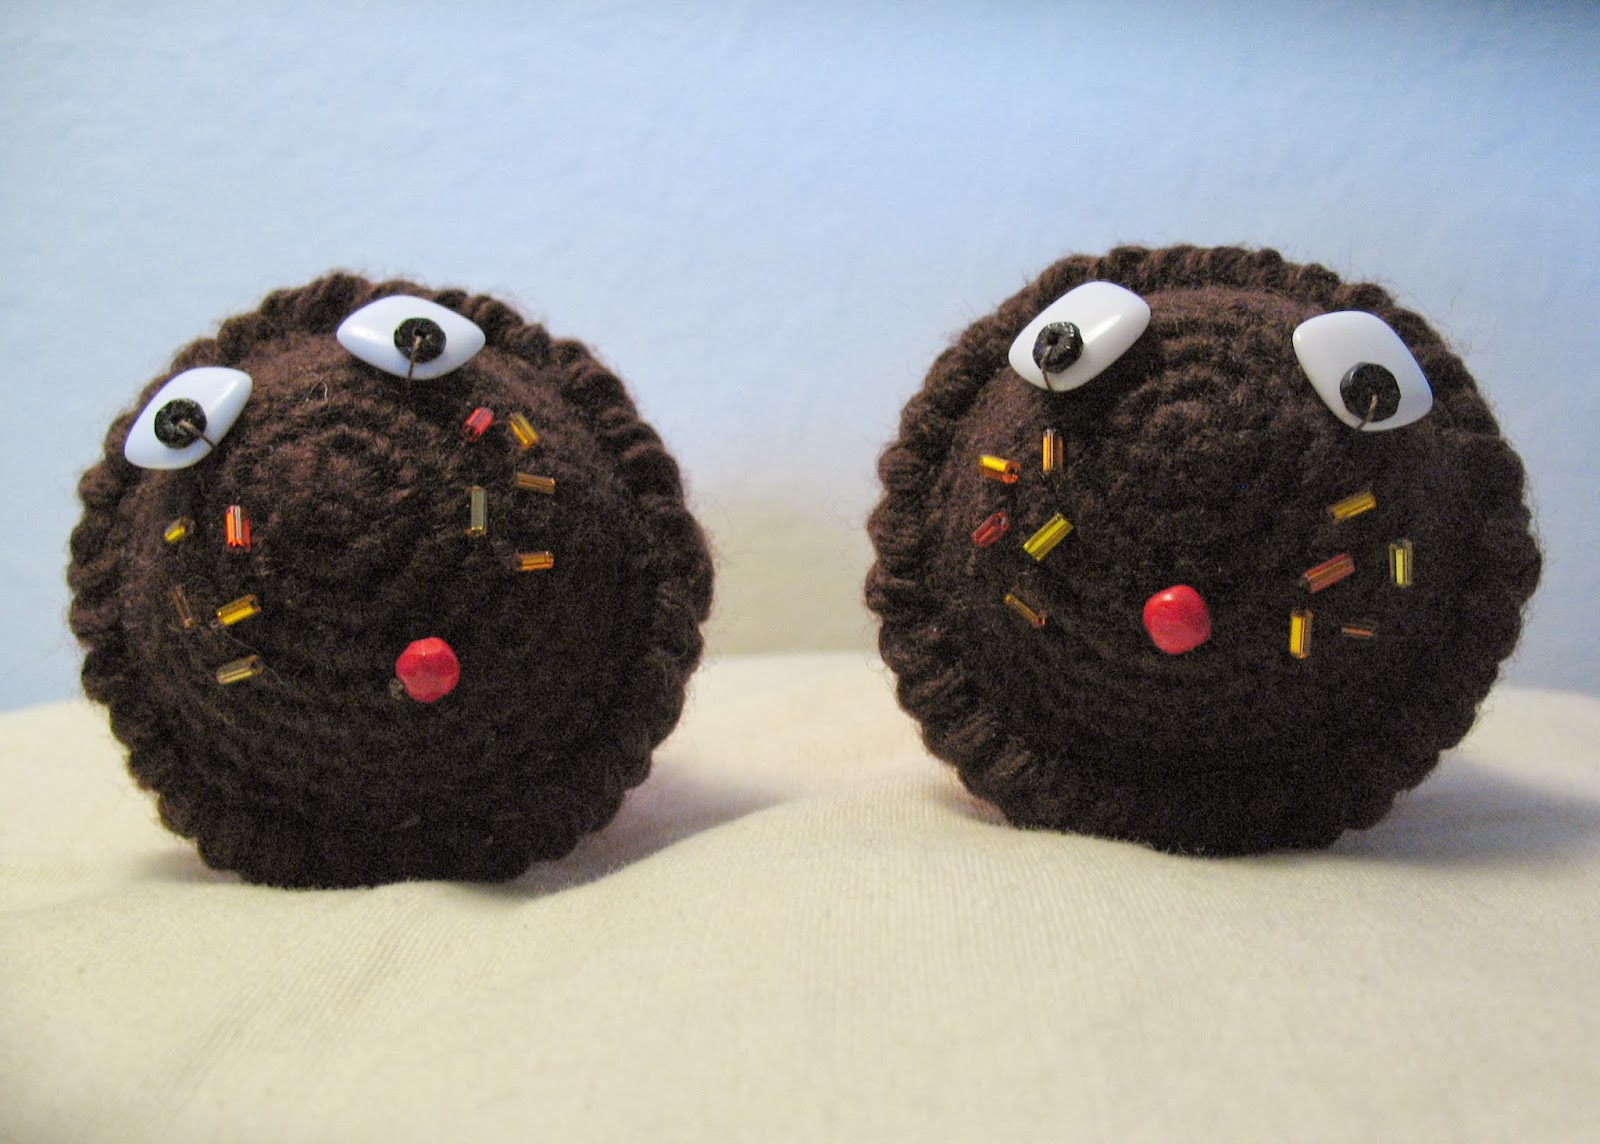
You can leave it plain in earth tones for a muffin, or a red bottom looks like red velvet cake. My favorite thing to do was add seed beads for sprinkle "freckles" and little expressive eyes:


Amigurumi Cupcakes:
Many thanks to Cill Crochets for inspiring this pattern!
Finished size is about 3 inches tall.
Gauge is as tight as you can make it!
SC= Single crochet, SLST= Slip Stitch, and DC= Double Crochet, CH= Chain.
Supplies:
US Size G (4.5 mm) crochet hook.
Scraps of worsted weight yarn. you won't need more than 2-3 grams of each color.
Polyester or recycled batting.
Beads if desired.
Needle and thread that matches icing color.
Yarn needle for finishing.
Icing Pattern:
Round 1: Start with a magic loop, and crochet 6 SC into the loop, pull tight and join with a SLST.
Round 2: 2 SC in each stitch around (12 SC)
Round 3: *1 SC in first stitch, 2 SC in next*, repeat around. (18 SC)
Round 4: *1 SC in first 2 stitches, 2 SC in next*, repeat around. (24 SC)
Round 5: *1 SC in first 3 stitches, 2 SC in next*, repeat around. (30 SC)
Rounds 6-9: 1 SC in each SC around.
Round 10: Turn. *SLST in first SC, DC in same stitch* repeat around, fasten off, and weave in end.
Wrapper Pattern:
Round 1: Begin with a magic loop, CH 3 to count as first DC. Crochet 14 more DC into the ring, pull tight, and join with a SLST. (15 DC)
Round 2: CH 3, DC into same stitch as CH, then crochet 2 DC into each stitch around. (30 DC)
Round 3: In the back loop only of this round, crochet 1 DC in each stitch around.
Rounds 4-6: 1 DC in each DC around.
Fasten off and weave in end.
To Assemble:
Stuff the cupcake's wrapper with stuffing. Using a needle and a thread that matches the icing color, sew through the wrapper and up and over icing edging to secure the pieces together. Sew most of the seam closed, and continue to stuff the cupcake to desired fullness. Add beads or embellishments to suit your own style and you're done!
No comments:
Post a Comment